Discover the essentials of metal roofing installation with this comprehensive guide. Learn about the benefits, materials, and step-by-step processes to ensure a durable and efficient roofing solution for your home or building. This guide is perfect for DIY enthusiasts and professionals alike, offering insights into modern techniques and best practices for a successful metal roof installation.
Overview of Metal Roofing Benefits
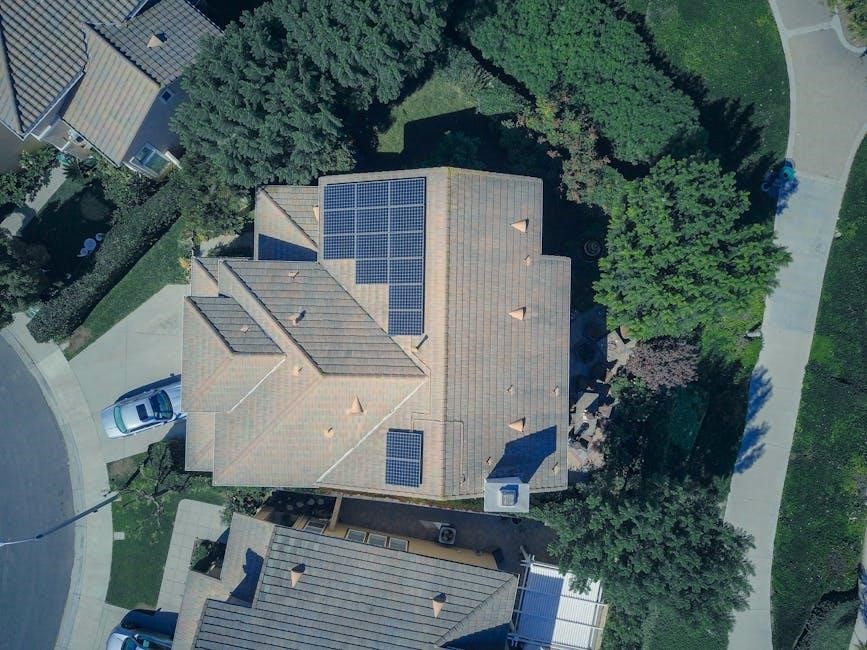
Metal roofing offers exceptional durability, lasting 50-70 years, and requires minimal maintenance. It provides energy efficiency by reflecting sunlight, reducing heat absorption. Resistant to moss, mold, and organic growth, it withstands harsh weather conditions, including severe winds. Its sleek, modern appearance enhances curb appeal, while being environmentally friendly with recyclable materials. A wise investment for long-term savings and structural protection.
Importance of Proper Installation
Importance of Proper Installation
Proper metal roofing installation ensures longevity, weather resistance, and safety. Incorrect techniques can lead to leaks, structural damage, or reduced lifespan. Adhering to manufacturer guidelines and safety standards is crucial to avoid common mistakes. A well-installed metal roof withstands extreme conditions, providing durable protection and maintaining its aesthetic appeal. Professional oversight or meticulous DIY execution is essential for a secure and long-lasting roofing system.

Tools and Materials Needed for Metal Roofing Installation
Essential tools include tape measures, snips, hammers, and safety gear. Key materials are underlayment, fasteners, and weatherproof sealants. Ensure all items meet manufacturer specifications for a secure installation.
Essential Tools for the Job
The essential tools for metal roofing installation include a tape measure, snips for cutting panels, hammer for securing fasteners, screwdrivers, and safety gear like gloves and harnesses. A chalk line helps mark straight lines, while a utility knife trims underlayment. Power tools, such as drills and impact wrenches, are crucial for driving screws efficiently. Ensure all tools are in good condition to avoid delays and ensure a precise installation.
Recommended Materials and Supplies
Recommended Materials and Supplies
For a successful metal roofing installation, essential materials include durable underlayment, drip edge, and weather-resistant flashings. High-quality trim and fasteners are crucial for secure panel attachment. Sealants prevent leaks, and safety gear like harnesses and gloves is mandatory. Choose galvanized or coated steel panels for longevity and corrosion resistance. Ensure all materials meet local building codes and manufacturer specifications for optimal performance and safety.
Preparing the Roof for Installation
Inspect the roof surface for debris, protrusions, and damage. Clean thoroughly to ensure a smooth installation. Remove old roofing materials and check for structural integrity before proceeding.
Inspecting and Cleaning the Roof Surface
Inspecting and Cleaning the Roof Surface
Thoroughly inspect the roof for debris, protrusions, and damage. Clean the surface using a broom or pressure washer to remove dirt, moss, and old adhesive. Ensure all nails and screws are securely fastened and no sharp objects remain. Check for gaps or uneven areas that might affect the installation. A clean, dry surface is essential for proper underlayment adhesion and a successful metal roofing installation.
Checking for Protrusions and Debris
Checking for Protrusions and Debris
Before installation, thoroughly inspect the roof surface for protrusions like nails, screws, and sharp objects. Remove any debris, such as branches or loose material, to ensure a smooth installation process. Check for uneven areas or gaps that could interfere with panel placement. Addressing these issues prevents damage to the underlayment and metal panels, ensuring a secure and even installation. A clean, obstruction-free surface is crucial for optimal results.

Installing the Underlayment
Underlayment is a critical protective layer installed beneath metal roofing to prevent moisture damage and ensure a smooth surface for panel installation. Properly apply it to safeguard your roof.
Choosing the Right Underlayment Material
Choosing the Right Underlayment Material
Selecting the appropriate underlayment material is crucial for a durable and weather-tight metal roof. Common options include synthetic underlayment, asphalt-saturated felt, or rubberized asphalt. Synthetic underlayment is preferred for its durability and moisture resistance, while asphalt-saturated felt offers cost-effectiveness. Ensure the material meets local building codes and is compatible with your metal roofing panels for optimal performance and longevity.
Applying the Underlayment Correctly
Applying the Underlayment Correctly
Ensure the roof surface is clean and free of debris before applying the underlayment. Align the material with the roof edges, overlapping seams by at least 6 inches. Secure the underlayment with compatible fasteners, maintaining a tight, smooth surface to prevent wrinkles. Start from the bottom and work upwards, ensuring proper adhesion and coverage to create a sturdy base for metal roofing panels.
Setting Up the Drip Edge
The drip edge directs water away from roof edges, protecting fascia and soffit. Install it along eaves and rakes, ensuring alignment and secure fastening without over-tightening.
Understanding the Role of Drip Edge
Understanding the Role of Drip Edge
The drip edge plays a crucial role in metal roofing installation by directing water away from roof edges, protecting fascia, soffit, and foundation from moisture damage. It ensures proper water flow, prevents erosion, and safeguards the structural integrity of the building. Properly installed drip edges are essential for maintaining the longevity and performance of the roof system.
Installing Drip Edge Properly
Installing Drip Edge Properly
Properly installing the drip edge is vital for ensuring water flows off the roof correctly. Cut the drip edge to size and fit it along the eaves and rakes, securing it with roofing nails. Align the drip edge with the roof panels to ensure seamless water redirection. Handle the drip edge carefully to avoid damage and always follow manufacturer guidelines for installation.

Installing Metal Roofing Panels
Ensure panels are aligned and securely fastened to the roof deck. Follow manufacturer instructions for spacing and tightening fasteners. Proper installation prevents leaks and damage.
Step-by-Step Panel Installation Process
Step-by-Step Panel Installation Process
Begin by measuring and cutting panels to fit your roof dimensions. Align the first panel at the roof edge, ensuring proper overhang. Secure it with fasteners, then overlap subsequent panels according to manufacturer guidelines. Tighten fasteners evenly to avoid buckling. Seal gaps between panels and edges to ensure watertightness. Double-check alignment and fastening before moving to the next section for a seamless installation.
Securing Panels with Fasteners
Securing Panels with Fasteners
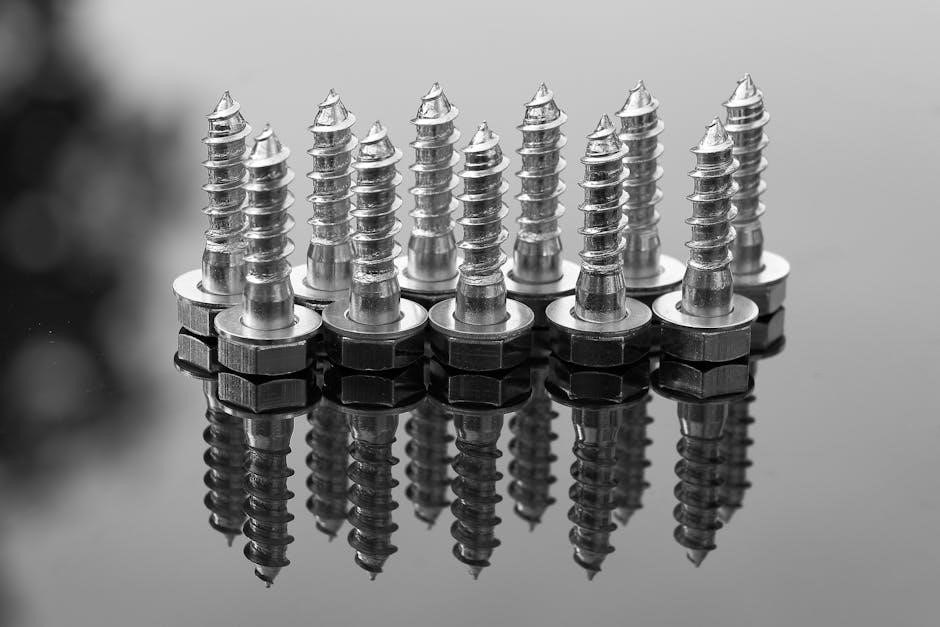
Use self-tapping screws designed for metal roofing to secure panels. Ensure proper spacing, typically 12-24 inches apart, following manufacturer guidelines. Tighten screws snugly without overtightening to avoid material compression. Align fasteners with pre-drilled holes or rivets for precise placement. Apply a rubber gasket to each screw to create a watertight seal. Double-check fastener alignment and torque to prevent leaks and ensure structural integrity.

Flashing and Trim Installation
Flashing and trim are crucial for sealing gaps around vents, chimneys, and skylights, while trim provides a clean finish along roof edges. Proper installation ensures weather-tight protection and enhances durability.
Importance of Flashing in Metal Roofing
Importance of Flashing in Metal Roofing
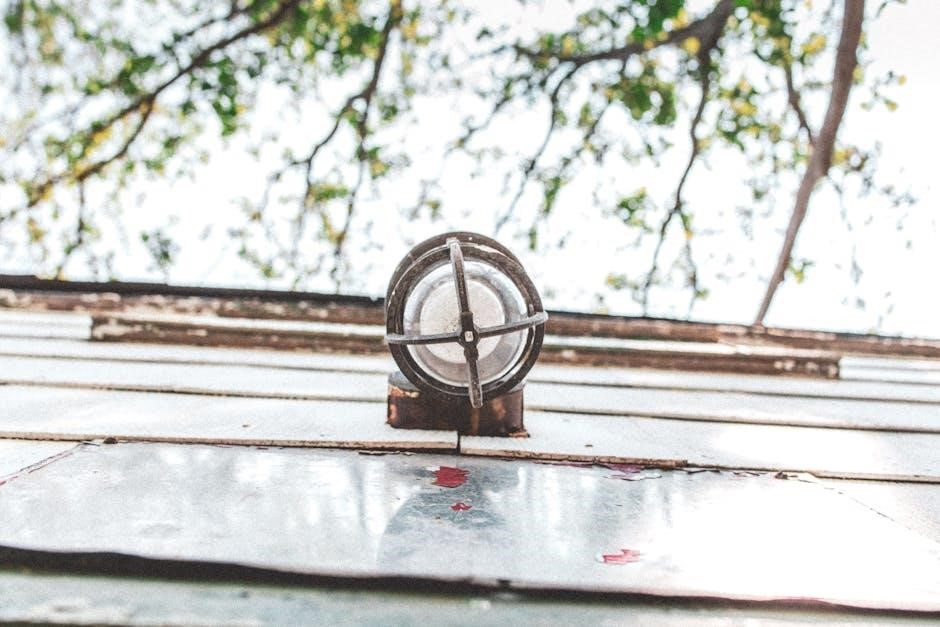
Flashing is essential for preventing water infiltration at vulnerable points like vents, chimneys, and skylights. It protects these areas from moisture damage, ensuring the roof’s structural integrity remains intact. Properly installed flashing redirects water away from critical zones, safeguarding against leaks and enhancing the roof’s overall durability and lifespan.
Without adequate flashing, even the highest-quality metal roofing can fail prematurely. Flashing materials must be durable, weather-tight, and compatible with the metal panels to maintain a seamless barrier against the elements. This ensures long-term performance and protection for your home or building.
Installing Trim and Flashing Details
Installing Trim and Flashing Details
Installing trim and flashing details is crucial for ensuring a watertight seal and polished finish. Start by measuring and cutting trim to fit roof edges, valleys, and ridges. Secure it with compatible fasteners, aligning it precisely with the roof’s contours. Flashing should be fitted around vents, chimneys, and skylights to direct water away effectively.
Use sealants to reinforce gaps and ensure a watertight connection. Properly aligned trim and flashing prevent leaks and enhance the roof’s aesthetic appeal. Always follow manufacturer guidelines for materials and techniques to achieve a professional-grade installation that withstands harsh weather conditions.
Fasteners and Sealants
Choosing the right fasteners ensures secure panel attachment and prevents corrosion. Use durable, compatible fasteners designed for metal roofing. Apply sealants to reinforce gaps and maintain a watertight seal, ensuring long-term integrity and protection against leaks.
Choosing the Right Fasteners
Choosing the Right Fasteners
Selecting the correct fasteners is crucial for a secure and durable metal roof installation. Use high-quality, corrosion-resistant fasteners like galvanized or stainless steel to ensure longevity. Choose fasteners compatible with your roofing material and designed for outdoor use. Proper spacing and alignment are essential to prevent leaks and maintain structural integrity. Always follow manufacturer guidelines for fastener type and installation to guarantee a watertight and long-lasting roof.
Applying Sealants Correctly
Applying Sealants Correctly
Properly applying sealants is vital for ensuring a watertight and durable metal roof. Use high-quality, weather-resistant sealants around fasteners, seams, and flashing to prevent leaks. Apply sealants evenly, following manufacturer instructions, and allow adequate drying time before exposing the roof to weather. Regularly inspect and reapply sealants as needed to maintain the roof’s integrity and extend its lifespan. Compatibility with roofing materials is essential for optimal performance.
Safety Considerations
Always wear safety gear, including gloves, harnesses, and sturdy footwear. Ensure proper ladder security and avoid working on wet or icy surfaces. Use fall protection and follow manufacturer guidelines for tools and materials to minimize risks during metal roofing installation.
General Safety Tips for Roof Installation
General Safety Tips for Roof Installation
Ensure proper safety measures during metal roofing installation by wearing protective gear, including harnesses, gloves, and sturdy footwear. Always maintain three points of contact when climbing ladders or working at heights. Avoid working on wet or icy surfaces and use fall protection equipment. Secure ladders firmly and inspect tools regularly. Never overload roofs with excessive weight, and keep the work area clear of debris. Adhere to all safety guidelines to prevent accidents and ensure a secure working environment.
Precautions Specific to Metal Roofing
Precautions Specific to Metal Roofing
When handling metal roofing, always use compatible fasteners to prevent corrosion and damage. Avoid standing on unsecured panels, as they may bend or shift. Use extreme care when cutting panels to prevent sharp edges. Ensure proper grounding to avoid electrical hazards. Follow manufacturer guidelines for screw placement, especially in hurricane-prone areas. Never overload panels with weight, and avoid walking on panels during installation until fully secured.
Maintenance and Upkeep
Regularly inspect metal roofing for loose fasteners and debris. Clean leaves and dirt to prevent mold and water damage. Check for rust or corrosion and address promptly to maintain structural integrity and appearance.
Regular Inspection and Maintenance
Regular Inspection and Maintenance
Regularly inspect your metal roof for loose fasteners, debris, and signs of wear. Clean leaves and dirt to prevent mold and water damage. Check for rust or corrosion on fasteners and panels, addressing issues promptly to maintain integrity. Inspect roof edges, valleys, and flashing for gaps or damage. Schedule annual professional checks to ensure long-term performance and extend the roof’s lifespan effectively.
Tips for Extending Roof Lifespan
Tips for Extending Roof Lifespan
To maximize your metal roof’s lifespan, prioritize regular maintenance and proactive care. Clean debris promptly to prevent water accumulation and damage. Tighten loose fasteners annually and apply sealants to gaps or scratches. Protect the roof from extreme weather by trimming nearby tree branches and ensuring proper drainage. Avoid using harsh chemicals, as they can damage coatings. Applying a protective coating every decade can further enhance durability and weather resistance.
Cost Considerations
Metal roofing offers long-term savings despite higher initial costs. Budget for materials, labor, and underlayment. Prices vary based on roof size, complexity, and material quality, ensuring durability and energy efficiency.
Understanding Initial and Long-Term Costs
Metal roofing has higher initial costs due to materials and labor, but offers long-term savings. While upfront expenses are greater than asphalt roofs, metal roofs last 50-70 years, reducing maintenance and replacement needs. Factors like roof size and complexity affect pricing, but the durability and energy efficiency provide substantial long-term value, making the investment worthwhile over time.
Budgeting for Materials and Labor
Accurate budgeting is crucial for metal roofing projects. Materials, including panels, underlayment, and fasteners, typically account for 30-40% of total costs. Labor expenses, especially for skilled installers, can be significant, particularly for complex roof designs. Calculate total expenses by considering roof size, material quality, and location. Plan for additional costs like tools and permits. Always include a contingency fund to address unexpected expenses during installation.
Troubleshooting Common Issues
Identifying and addressing leaks, fastener problems, and panel damage is crucial for maintaining your metal roof’s integrity. Regular inspections help prevent minor issues from becoming major repairs.
Identifying and Addressing Leaks
Identifying and Addressing Leaks
Leaks in metal roofs often occur at seams, fasteners, or flashing details. Inspect for water spots or stains indoors and check the roof surface for gaps or loose fasteners. Address leaks by sealing gaps with compatible sealants or replacing damaged panels. Regular maintenance and tightening fasteners can prevent future issues. Ensure all repairs align with manufacturer guidelines for optimal results.
Fixing Fastener and Panel Problems
Fixing Fastener and Panel Problems
Loose, over-tightened, or rusty fasteners can compromise metal roof integrity. Inspect panels regularly for gaps or misalignment. Tighten loose fasteners without over-torquing, and replace rusted ones with compatible alternatives. For panel damage, assess the extent and replace or repair as needed. Ensure all fixes align with manufacturer specifications to maintain structural integrity and weatherproofing. Addressing these issues promptly prevents further damage and extends roof lifespan.
After completing the installation, conduct a thorough inspection to ensure all components are secure and properly aligned. Verify that fasteners, panels, and flashing are correctly installed and sealed. Check for any gaps or damage that could compromise the roof’s integrity. Ensure compliance with local building codes and manufacturer guidelines to guarantee optimal performance and longevity of your metal roof.
Final Inspection Before Completion
Final Inspection Before Completion
Conduct a final inspection to ensure all components are secure and properly aligned. Check for any leaks, loose fasteners, or damaged panels. Verify that all seams, flashing, and trim are tightly sealed. Inspect the roof for any gaps or unevenness. Ensure the roof meets the manufacturer’s specifications and local building codes. This final check ensures a durable and weather-tight metal roofing system.
Ensuring Compliance with Local Codes
Ensure your metal roofing installation meets local building codes and regulations. Obtain necessary permits and inspections to avoid legal issues. Verify that materials and installation methods comply with area requirements. Non-compliance can lead to fines or even removal of the roof. Always consult local building departments or professionals to ensure adherence to specific codes and standards for a lawful and safe installation.